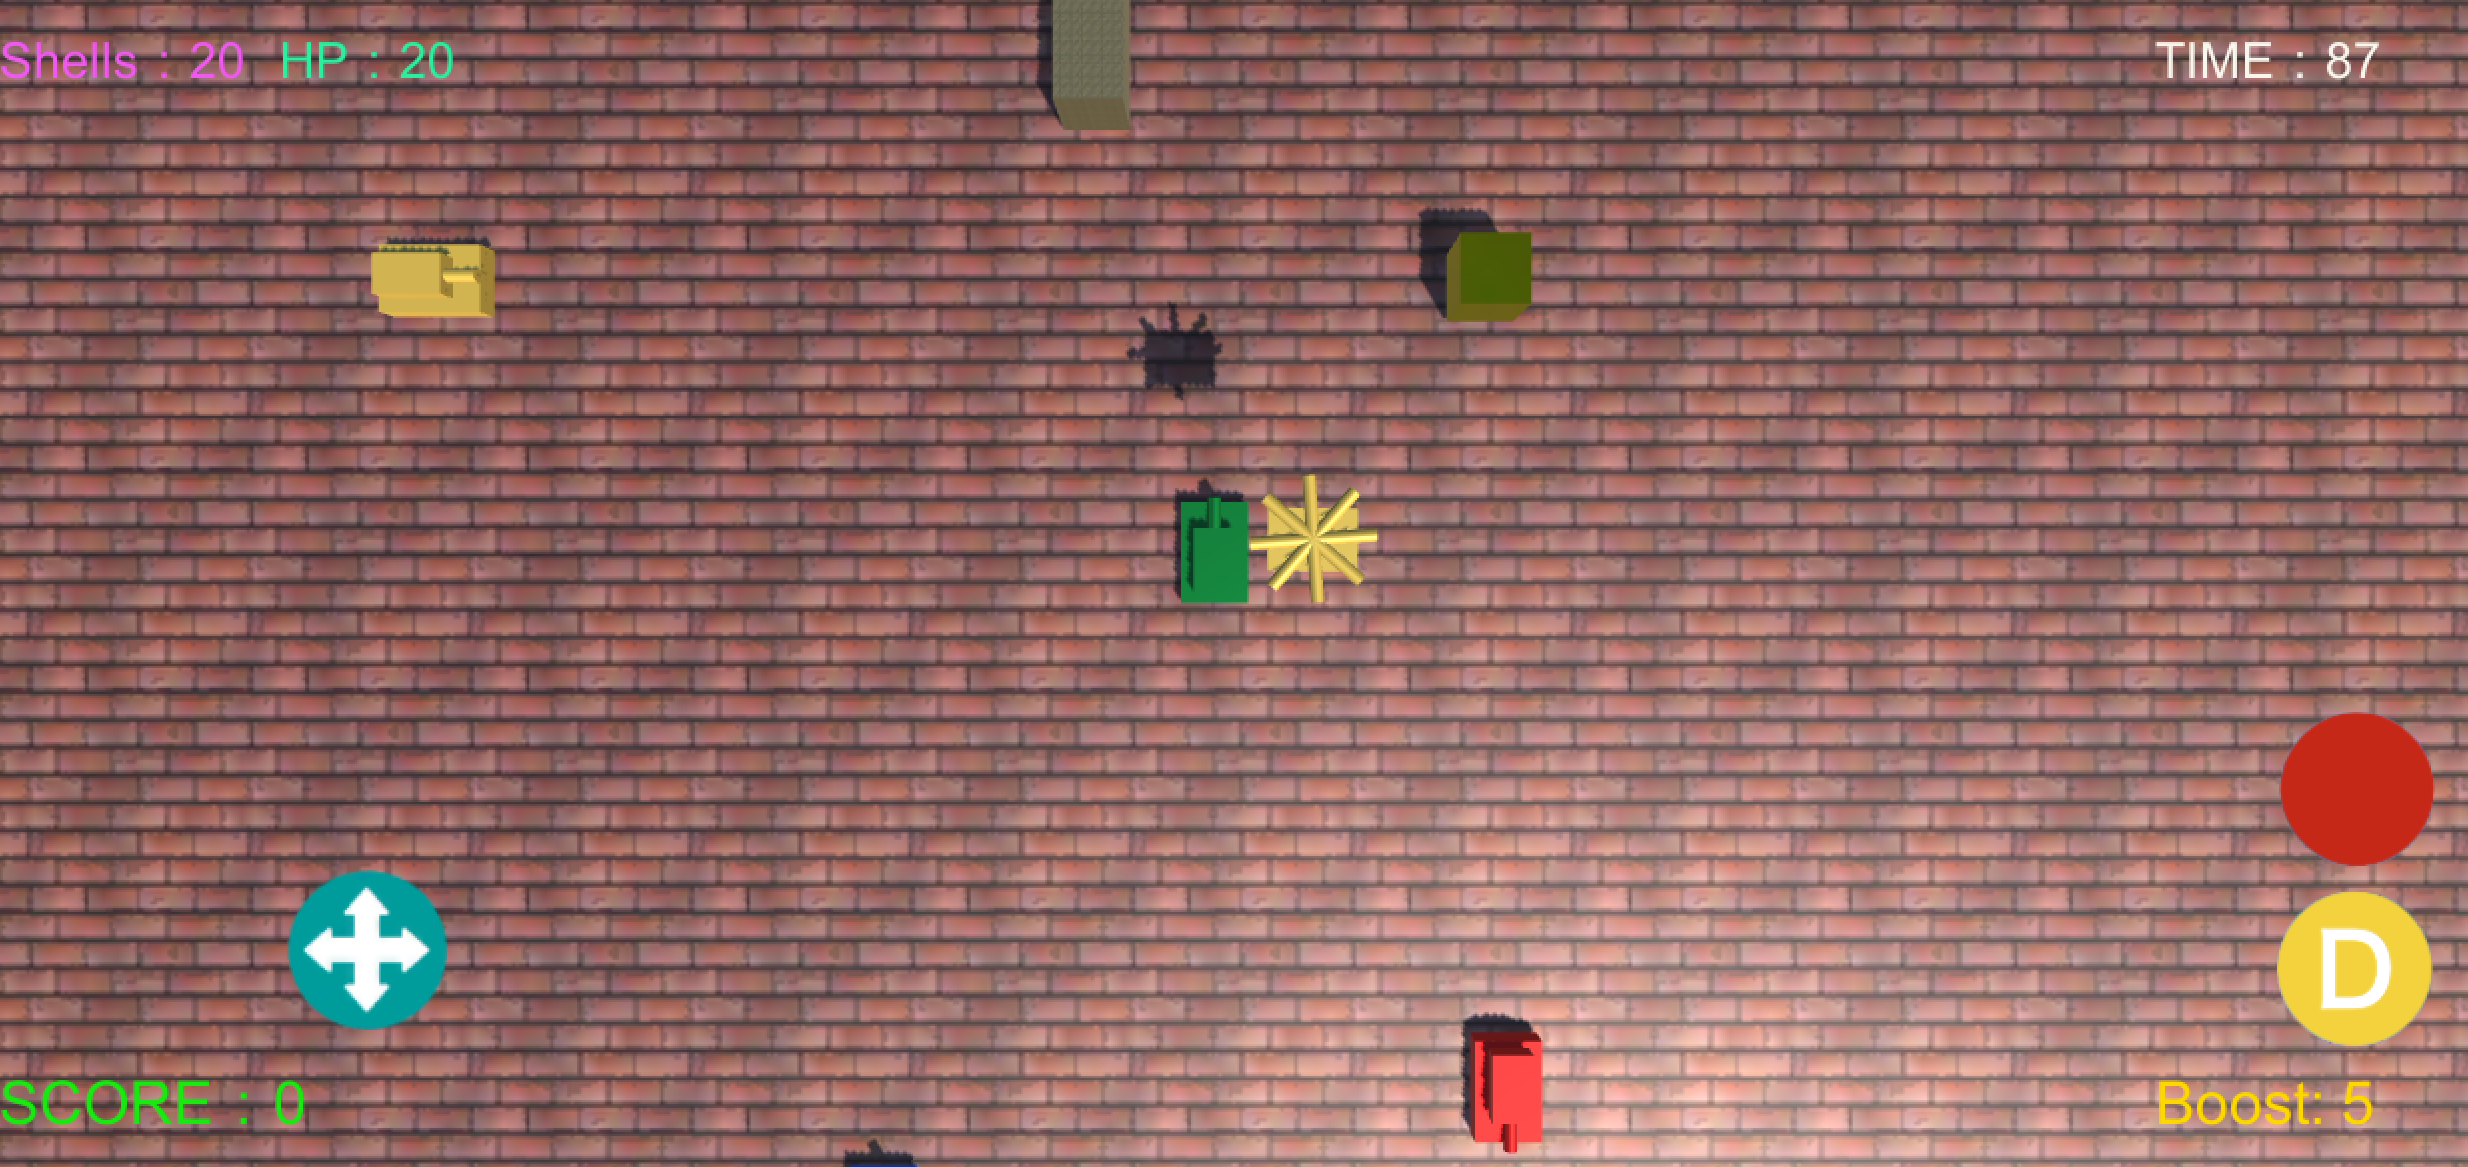
次は、スマホの画面上に「ミサイル発射ボタン」と「ダッシュボタン」を作っていきます。
まず、下記から「ButtonIcon」をダウンロードしましょう。
http://mono-pro.net/unity-assets/
ダウンロードできたら.zipファイルをダブルクリックして解凍。
解凍した「ButtonIcon」フォルダを「Assets」にドラッグ&ドロップ

今回はこの中の「DashButton」と「ShotButton」を使用します。

1)画面にボタンを配置する
ボタン画像はそのままではUIとして使えないので「データのタイプを変更」しましょう。
・「Texture Type」を「Sprite(2D and UI)」に変更する。

・余白をクリック→「Apply」(適用)ボタンを押す。

・画像の横に▶︎のマークがついたことを確認しましょう。

*ここまでできたら「DashButton」についても同様に変更しましょう。
次に、Canvasの上にボタンを配置します。
まずはCanvasをダブルクリック。
設定は下記を参考にやってみましょう。
ボタンの「位置」と「大きさ」は自由です。

次は、「ShotShell」スクリプトを改良していきます。
2)スクリプトの改良
・★の部分を改良しましょう。
using UnityEngine;
using System.Collections;
using UnityEngine.UI;

public class ShotShell : MonoBehaviour {

	public GameObject shellPrefab;
	public float shotSpeed;
	public AudioClip shotSound;
	public int shotCount;
	public Text shellLabel;


	void Start(){
		shellLabel.text = "残弾:" + shotCount;
	}

	// ★Updateメソッドをコメントアウトする
	/*
	void Update () {

		if(Input.GetButtonDown("Fire1")){

			if(shotCount < 1)
				return;

			Shot();
			AudioSource.PlayClipAtPoint(shotSound, transform.position);
			shotCount -= 1;
			shellLabel.text = "残弾:" + shotCount;
		}
	}
	*/


	// ★下記のメソッドを追加する
	public void OnShotButtonClicked(){

		if(shotCount < 1)
			return;

		Shot();
		AudioSource.PlayClipAtPoint(shotSound, transform.position);
		shotCount -= 1;
		shellLabel.text = "残弾:" + shotCount;
	}


	public void Shot(){

		GameObject shell = (GameObject)Instantiate(shellPrefab, transform.position ,Quaternion.identity);

		Rigidbody shellRigidbody = shell.GetComponent<Rigidbody>();

		shellRigidbody.AddForce(transform.forward * shotSpeed);

		Destroy(shell, 2.0f);
	}

	public void AddShell(int amount){
		shotCount += amount;
		shellLabel.text = "残弾:" + shotCount;
	}
}
改良ができたらチェック
次は、「スクリプトをボタンに付ける」作業を行います。
・「Canvas」をクリック→「ShotButton」をクリック→「+」をクリック

<重要ポイント>
・「ShotShell」スクリプトの付いている「ShotShell」オブジェクトを「空欄」にドラッグ&ドロップする。

・「No Function」をクリック→「ShotShell」を選択→「OnStartButtonClicked()」を選択してクリック

・下記の図のようになったら設定完了です。

再生ボタンを押してShotButtonを押してみましょう。
押した瞬間に砲弾が発射されたら成功です。
(復習)
同様に「DashButton」も改良してみましょう。
(ヒント1)
・改良するスクリプトは「TankMovement」です。
・この中の「Updateメソッド」の中にある「Boostに関する部分」を「ShotShell」を参考に改良してみましょう。
(ヒント2)

・下の空欄に入るのは「TankMovement」スクリプトが付いているオブジェクトです。
ここまでできたら再生ボタンをおしてみましょう。
Dボタンを押した瞬間ダッシュ(ブースト)したら成功です。